stitch
1I just installed Ruta. Where do I start?
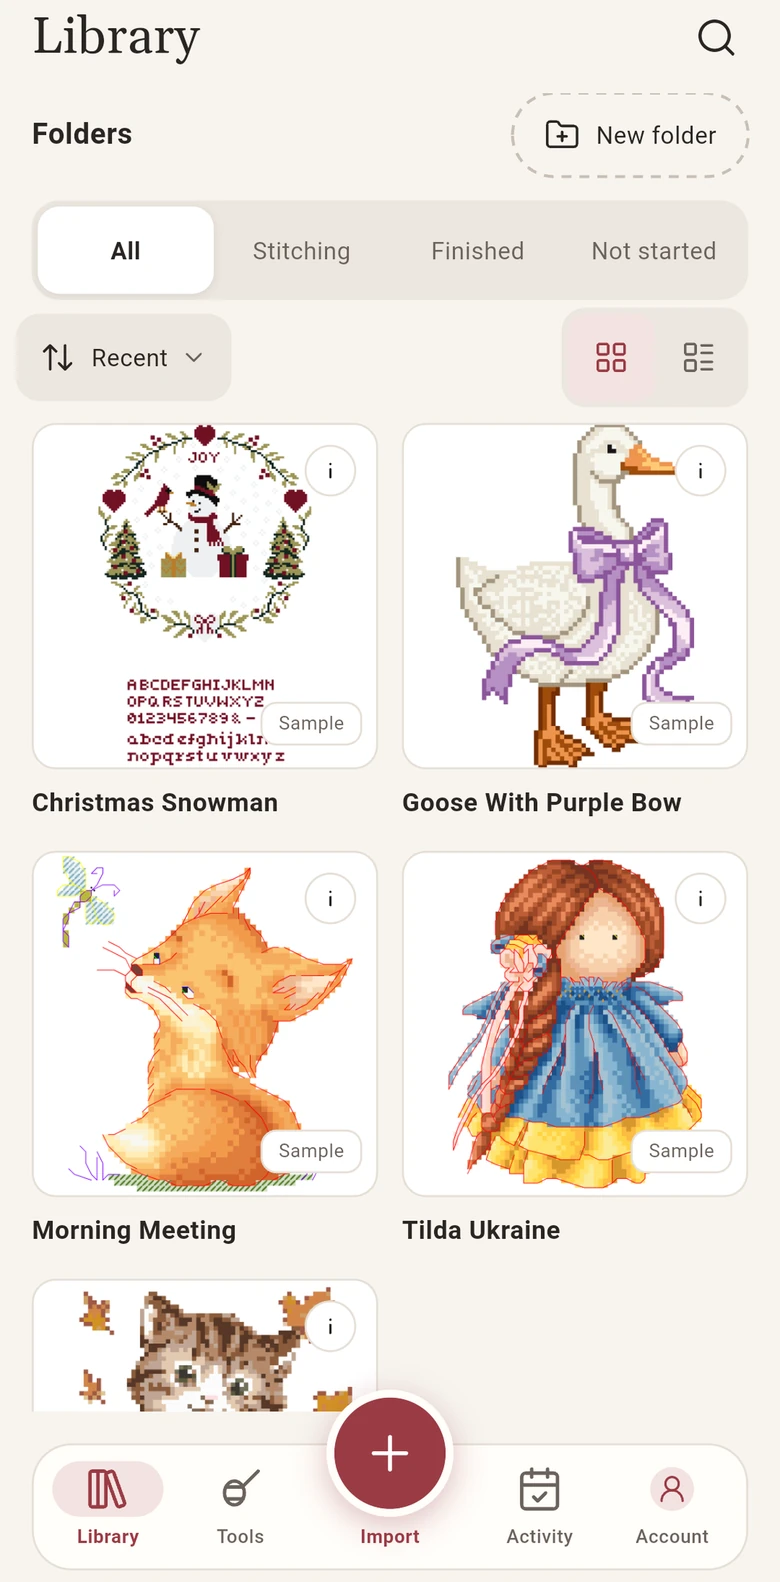
Your Library already has five charts from designers, marked Sample. They are free in full, so you can try everything on them. Tap a cover to open one.
Nothing found. Write to us: Account, Help, Contact support.
Practise on a sample chart that comes with Ruta.
Your Library already has five charts from designers, marked Sample. They are free in full, so you can try everything on them. Tap a cover to open one.
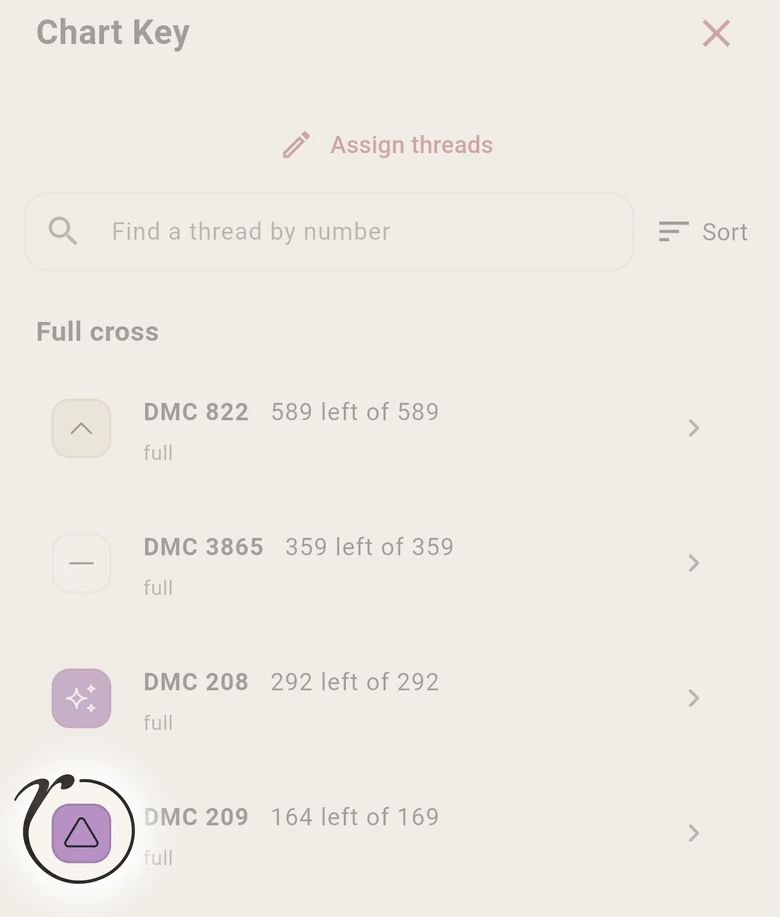
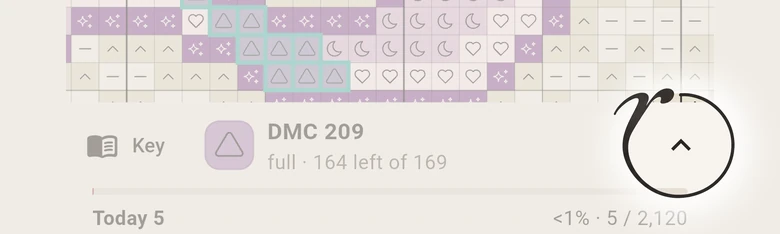
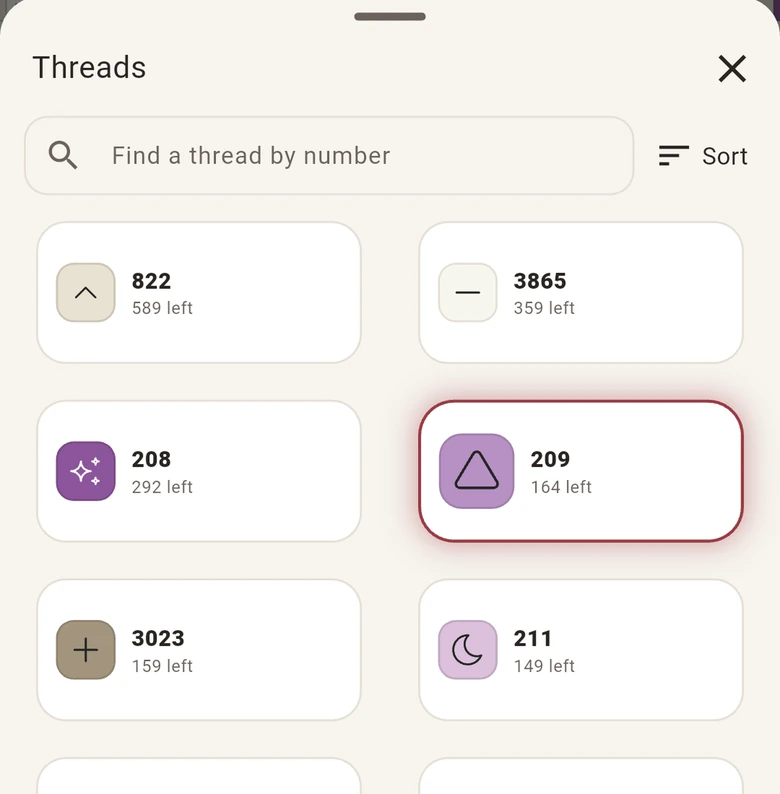
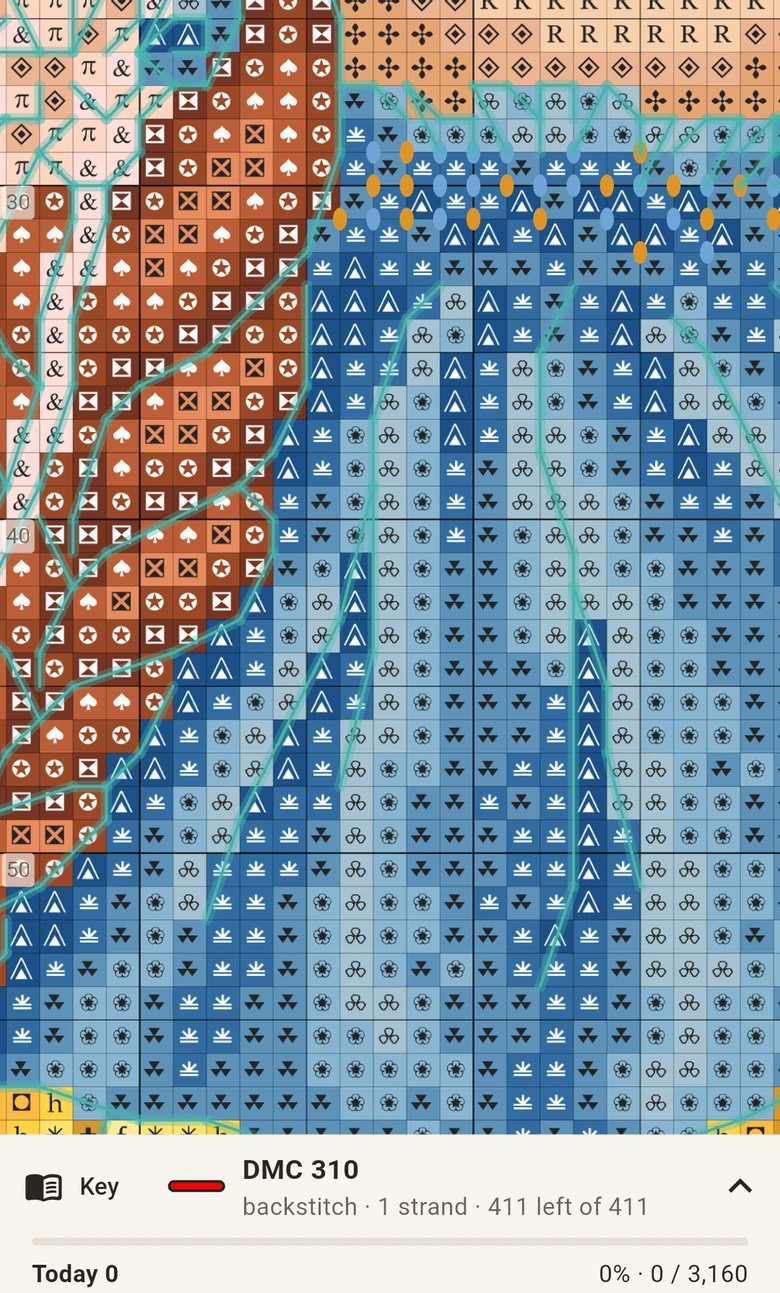
Ruta works with one thread at a time, the selected thread. You see it in the bar at the bottom: its symbol, number, stitch type and how many stitches are left. Its stitches are outlined on the chart. To select another thread:
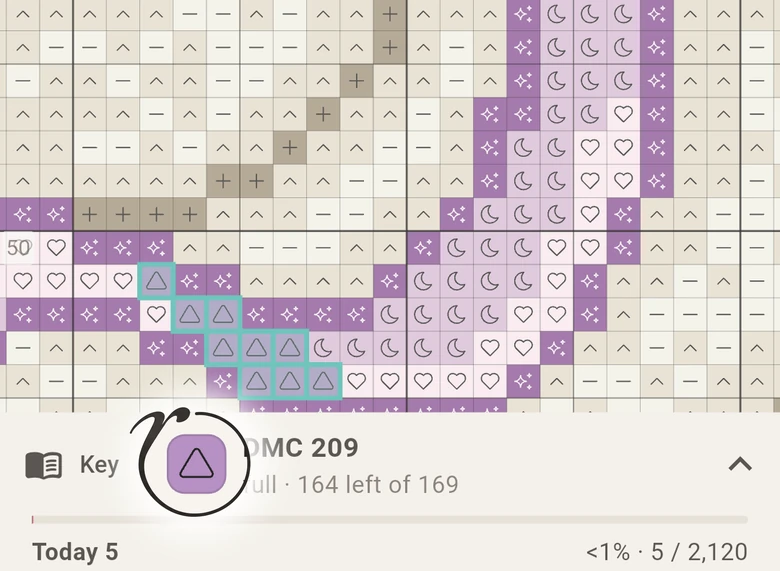
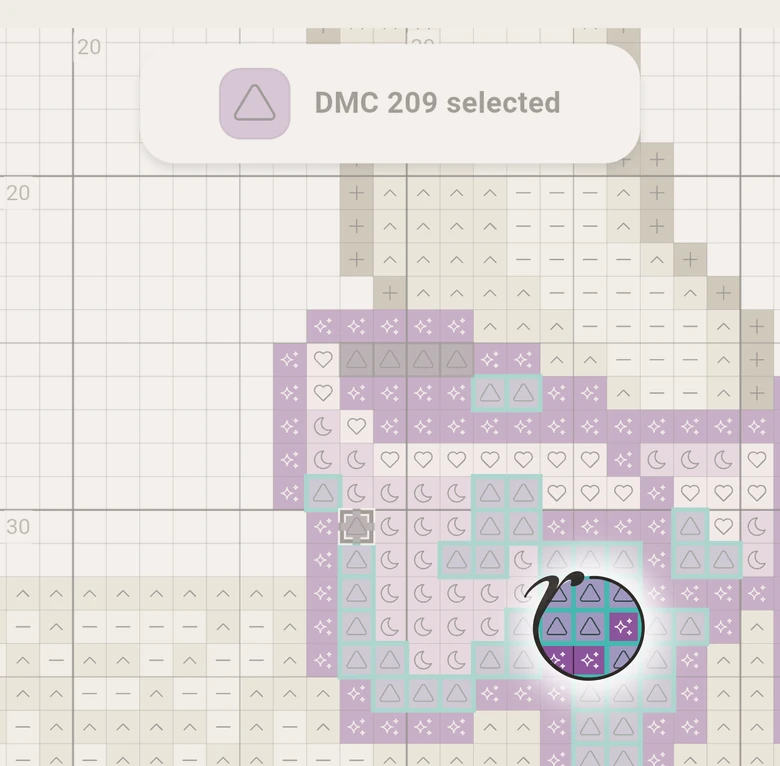
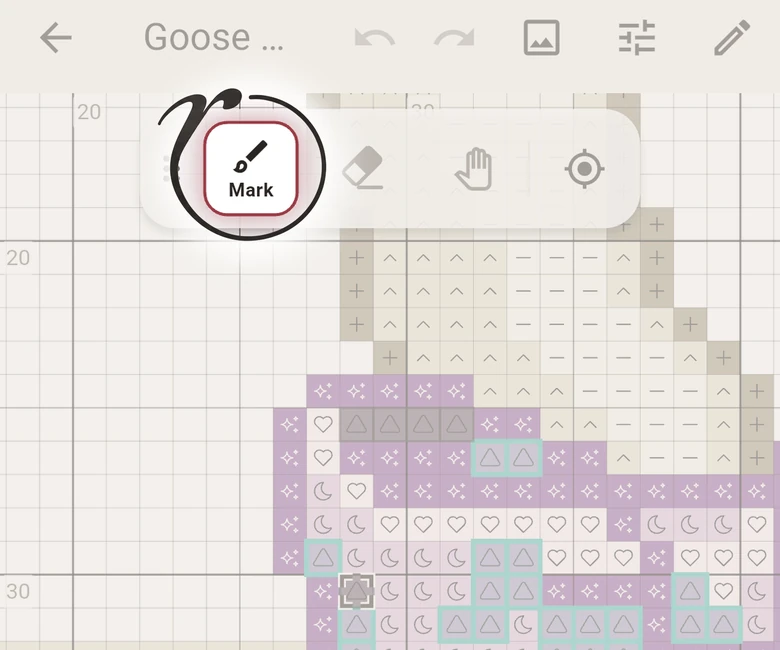
Choose Mark in the tool bar. Then tap a stitch of the selected thread, or slide your finger over several. Marked stitches change their look, so you see at once what is done.
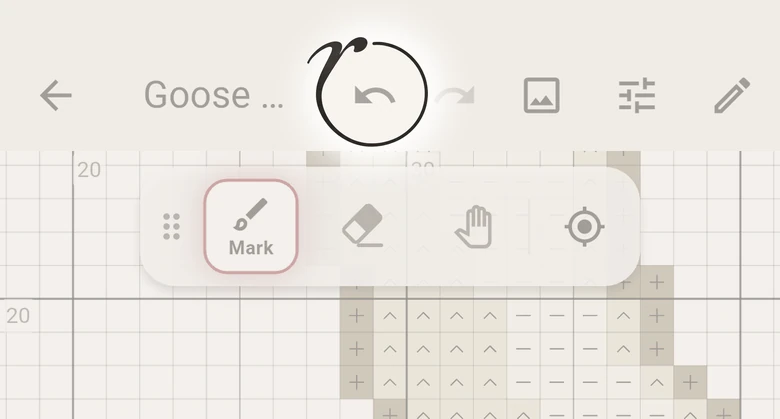
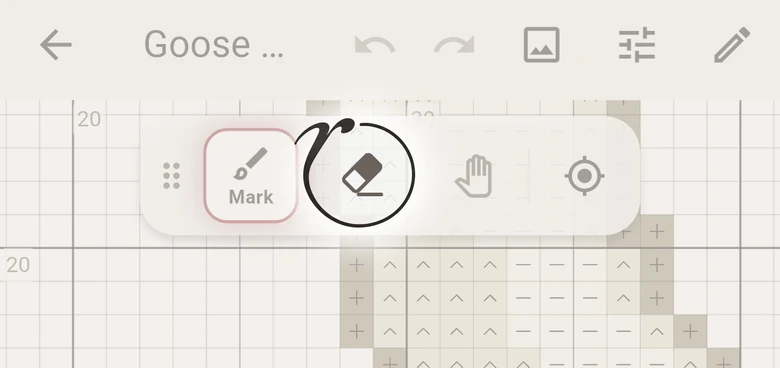
Tap the curved arrow at the top. Each tap takes back one step. To clear an older mark, tap that stitch again or choose Erase.
Two fingers move and zoom the chart.
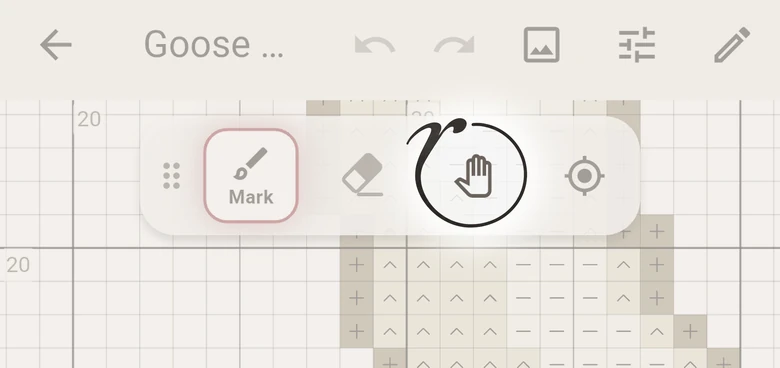
One finger marks while Mark is on. To move the chart with one finger, choose Move (the hand).
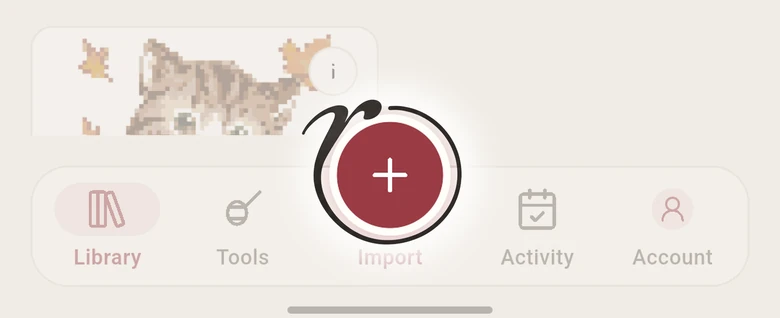
Tap the red Import button at the bottom and choose your pattern: a PDF, a chart file or photos of a paper chart. On iPhone, first choose Chart file or Photos of a paper chart.
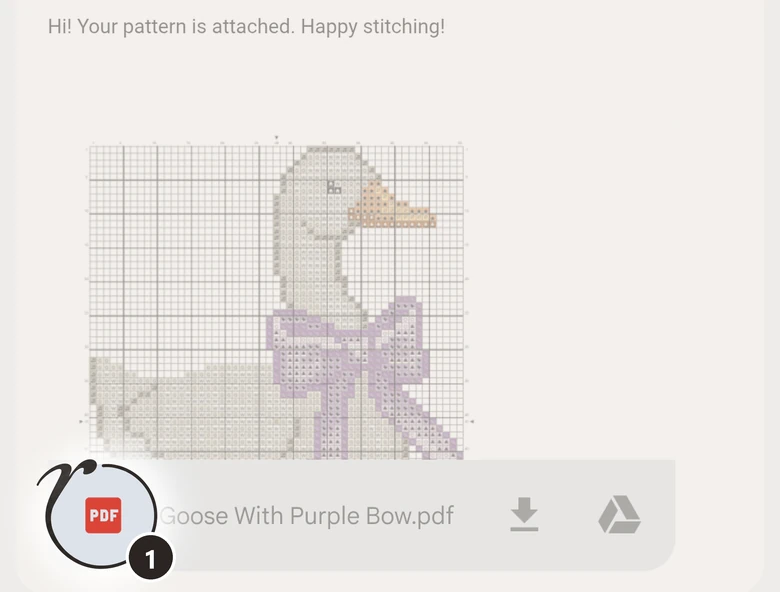
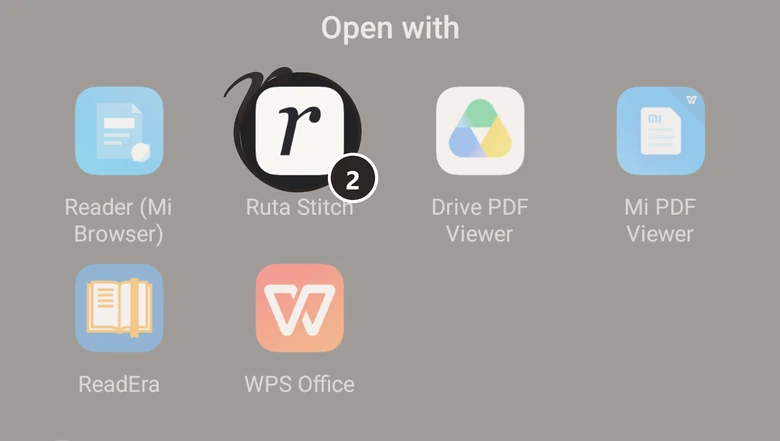
Open the attachment, tap Share or Open with and choose Ruta Stitch. Or save the file to your phone, then tap Import in Ruta and find it in Downloads.
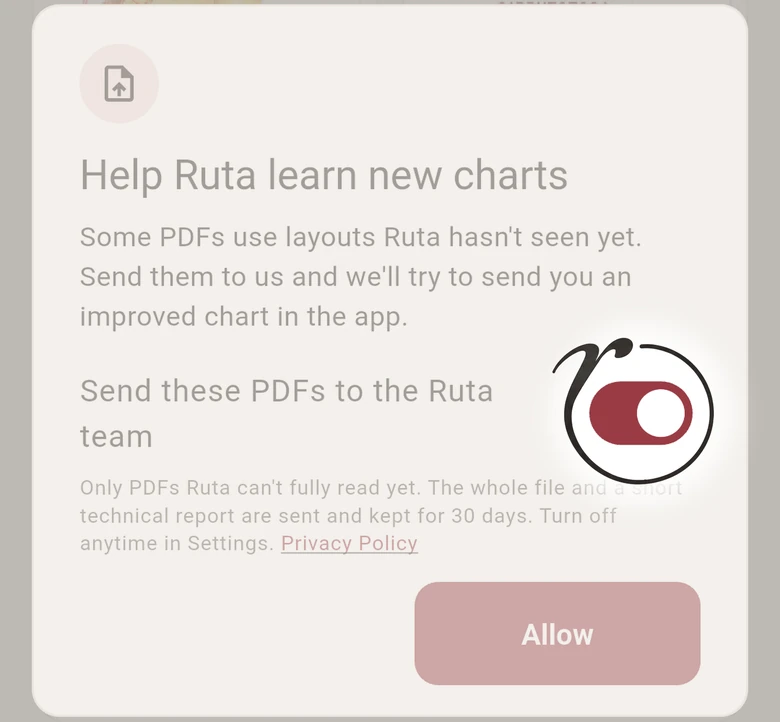
Ruta asks once for permission to send us PDFs it cannot fully read yet, so we can improve the app. Tap Allow, or switch it off and tap Continue without sending. You can change this preference later in Account > Privacy & terms.
While Ruta reads your pattern, a needle and thread move in the window. A big chart with many pages takes longer. The chart opens by itself when it is ready.
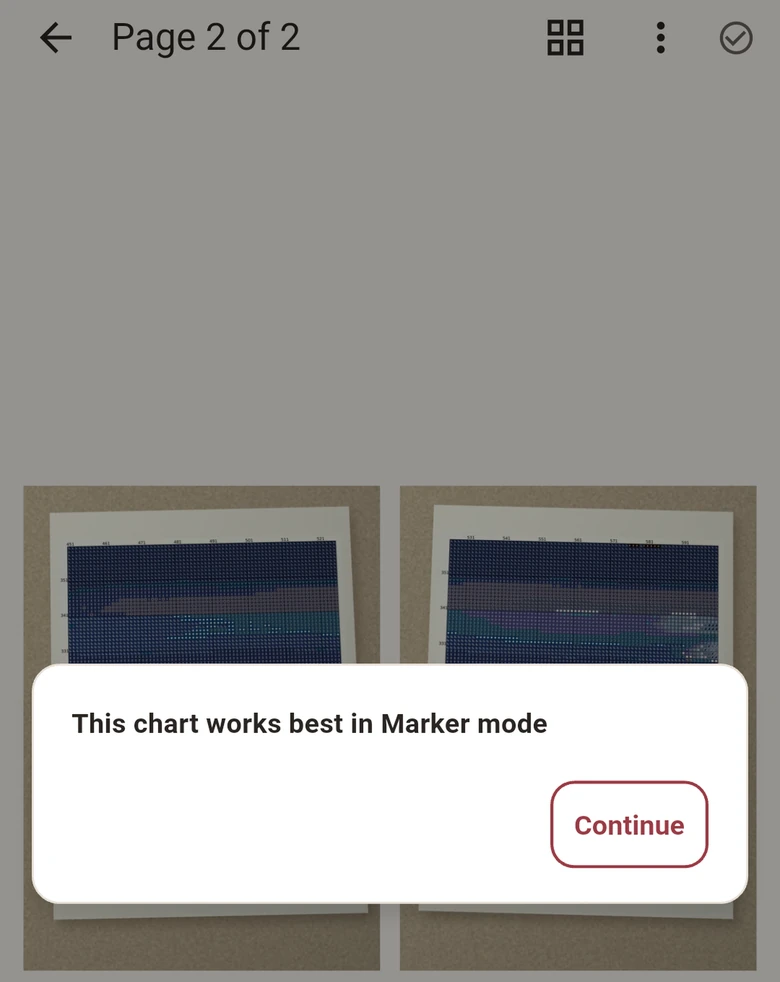
Some PDFs hold the chart only as a picture, like a scan or a photo. Ruta opens those in Marker mode: you mark what you stitched right on the pages, like a highlighter on paper.
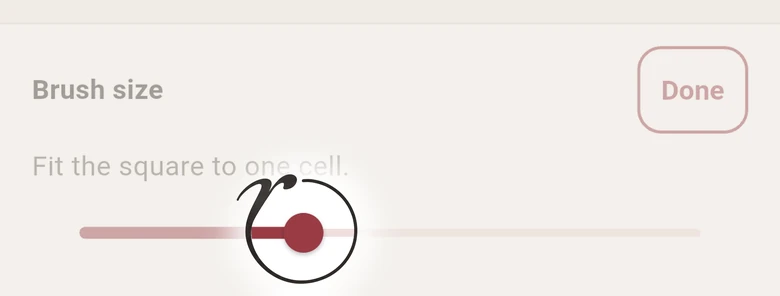
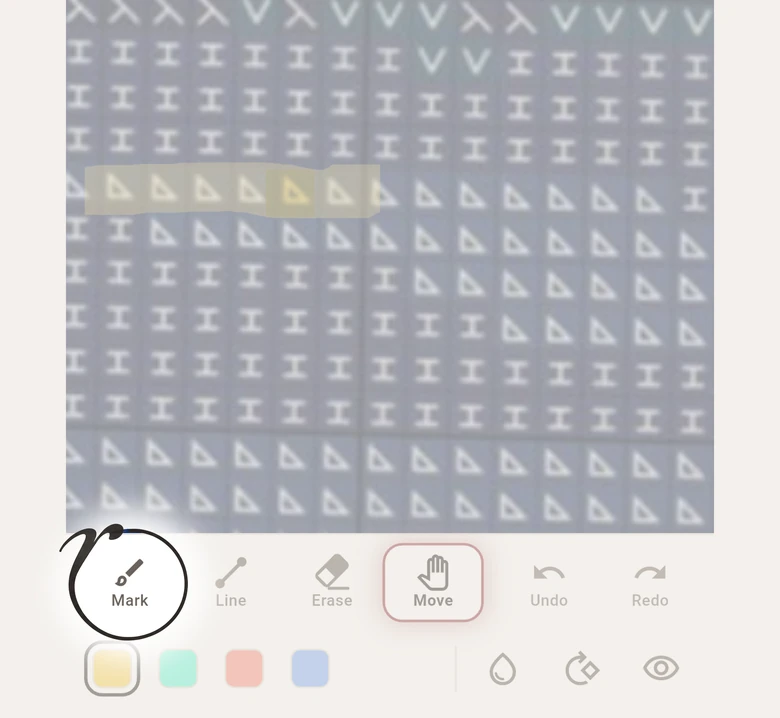
Choose Mark. At your first mark Ruta asks for the Brush size: move the slider until the square fits one cell of your chart, then tap Done. To change it later, tap Mark once more. Then paint over what you stitched. Line draws backstitch, Erase clears.
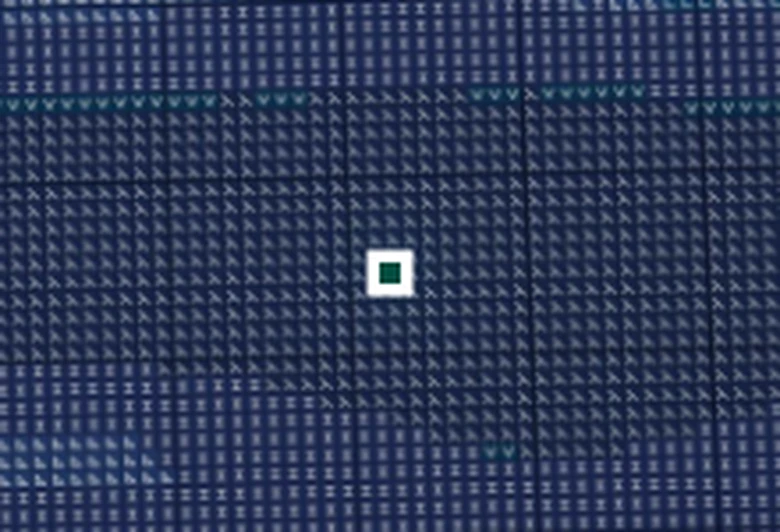
Not yet. We are working on a way to redraw a chart from your pages, with a little help from you. It is coming soon.
Yes. Tap Import and choose one photo per page, in order. On iPhone, choose Photos of a paper chart first. Photos usually open in Marker mode.
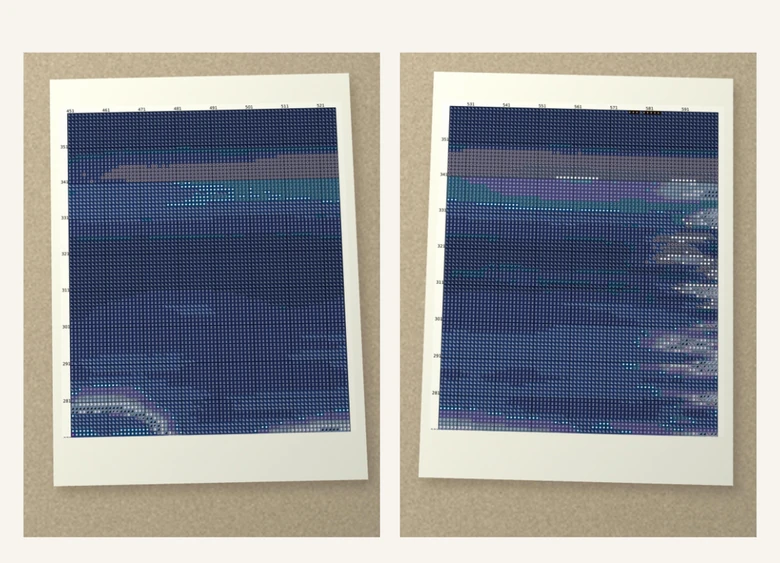
Tap the sliders at the top for Chart Settings. Import notes says Chart read in full, or lists a few things to check. Original PDF just below helps you compare.
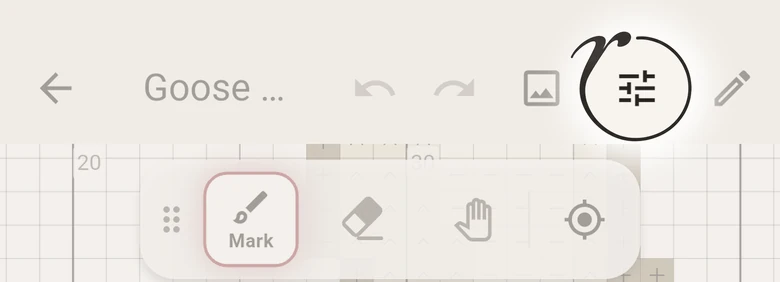
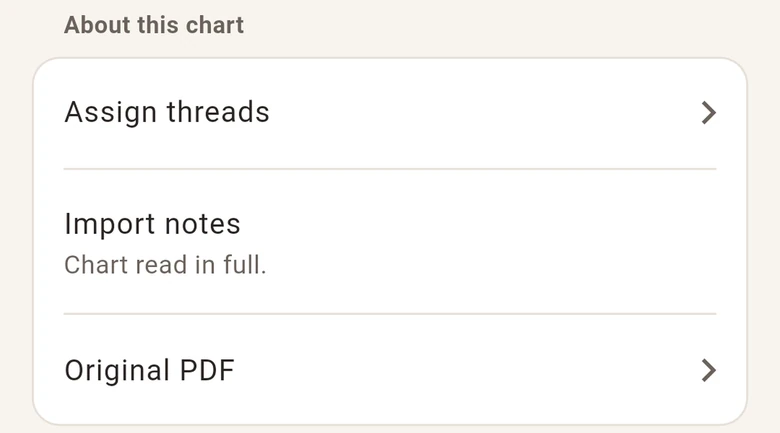
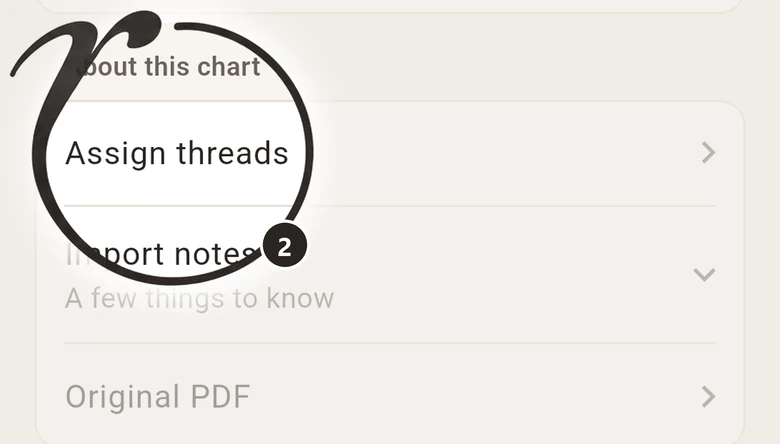
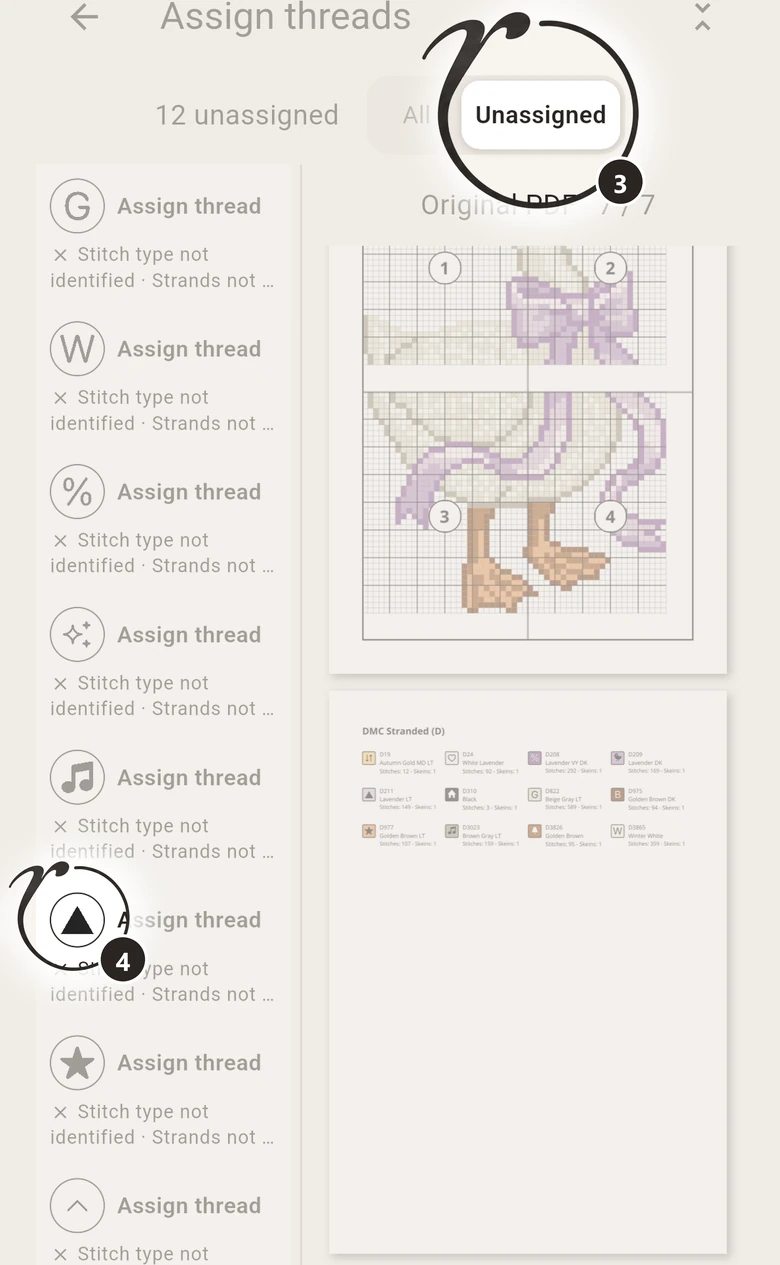
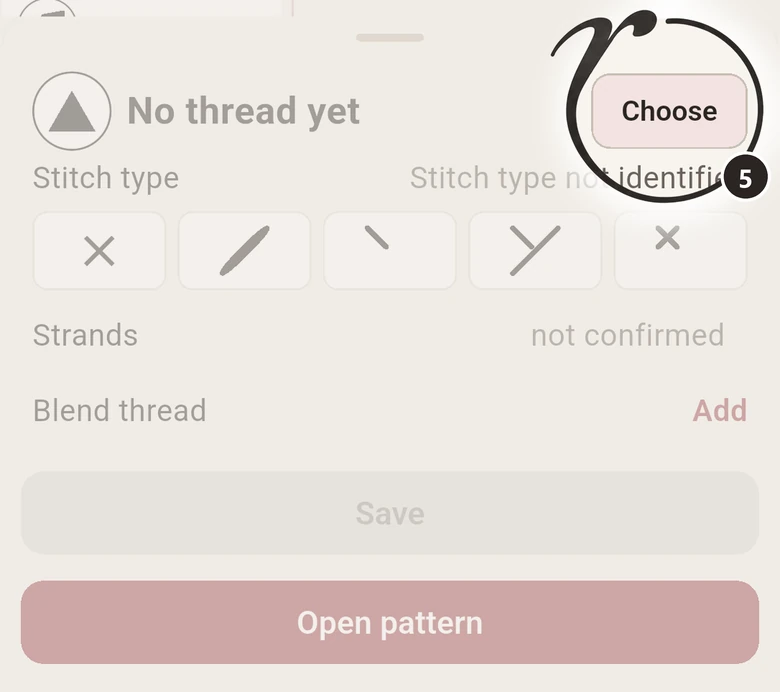
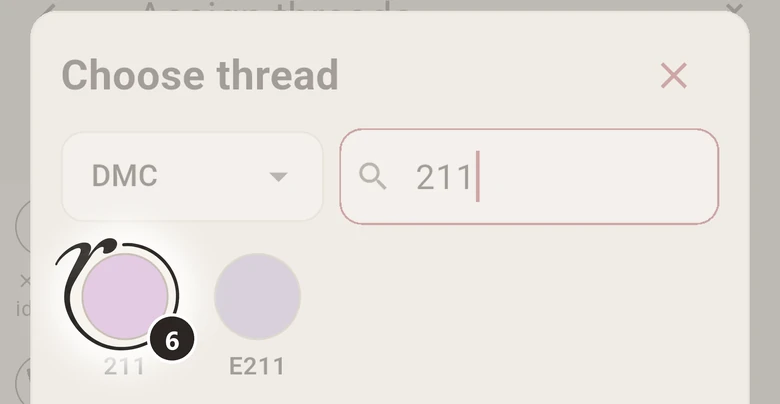
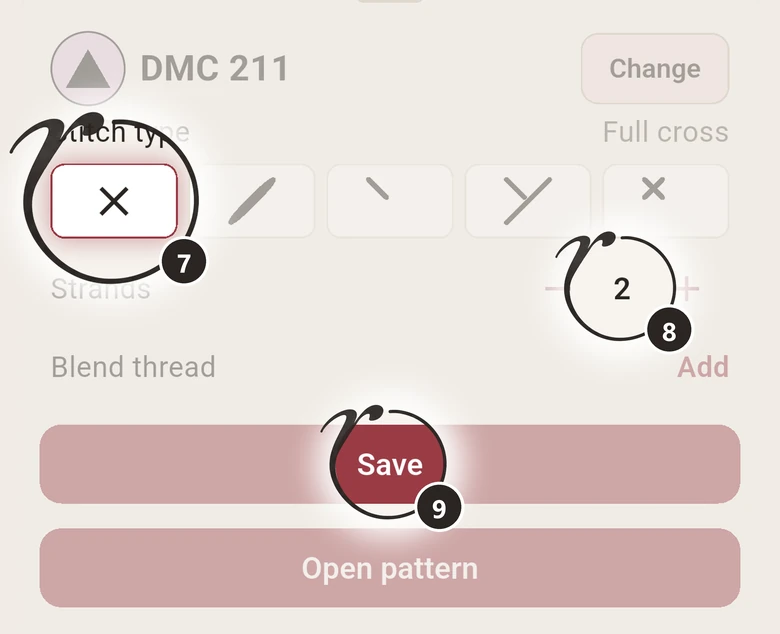
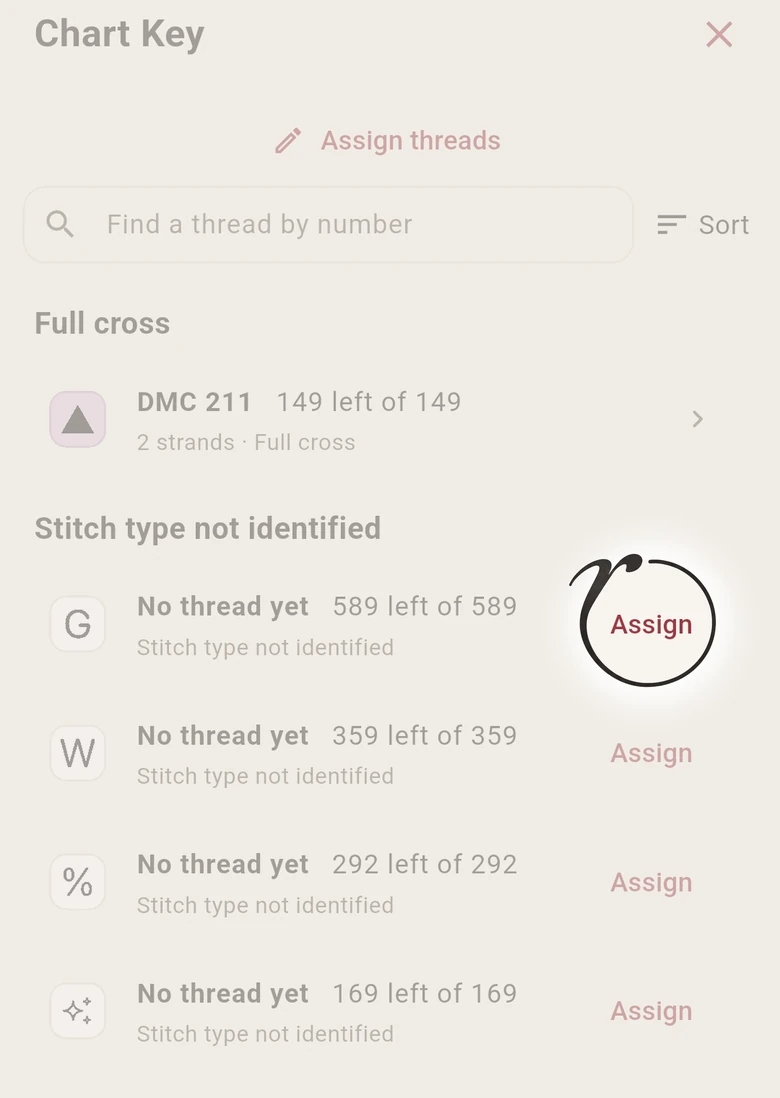
Tap the sliders at the top for Chart Settings, then Assign threads. The chart's symbols are on the left and your PDF on the right, so you can find its legend right there. Unassigned leaves only the symbols still without a thread. Tap a symbol, tap Choose and pick its thread, then set Stitch type and Strands and tap Save. When all is set, tap Open pattern. In Key, a symbol without a thread also has Assign beside it.

Yes. In Pattern Keeper tap Export PDF, then import that PDF into Ruta as a new chart. Your progress and its dates come over, so Activity shows your history from the start, not only from today. A notice tells you how many stitches came. Pattern Keeper marks only full and half crosses, so backstitch, knots and quarter stitches arrive unmarked. When every cross is marked, these stitches count as done too.

Tap the target in the tool bar, Find next. Ruta shows the nearest group of stitches still to do of the selected thread, and the arrows take you to the next one.
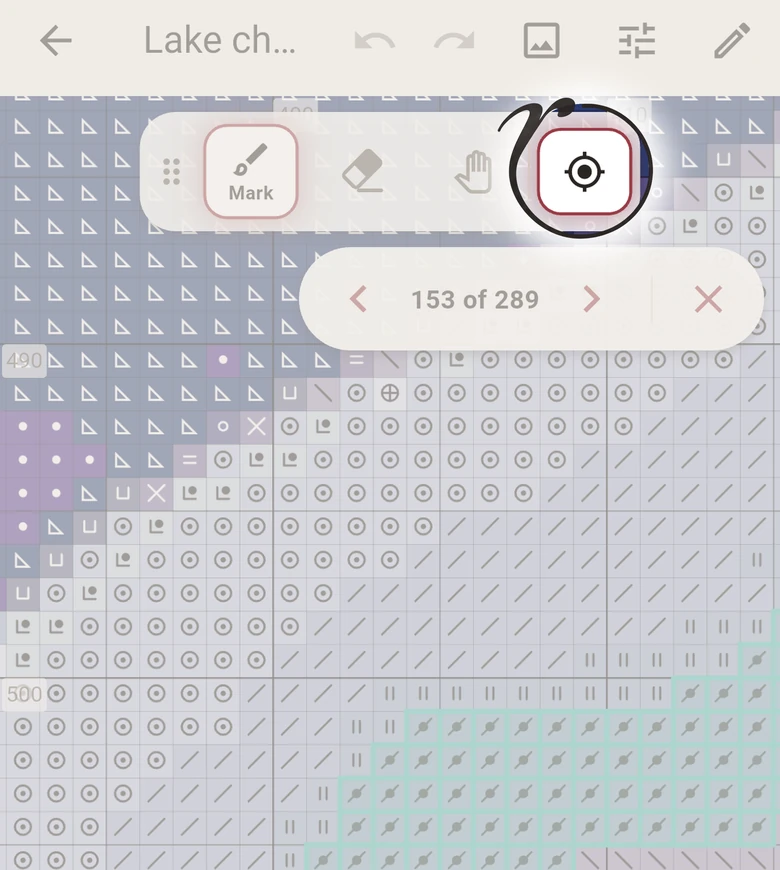
Every thread remembers its own last marked stitch. Choose the thread, and four small corners show where you stopped with it.
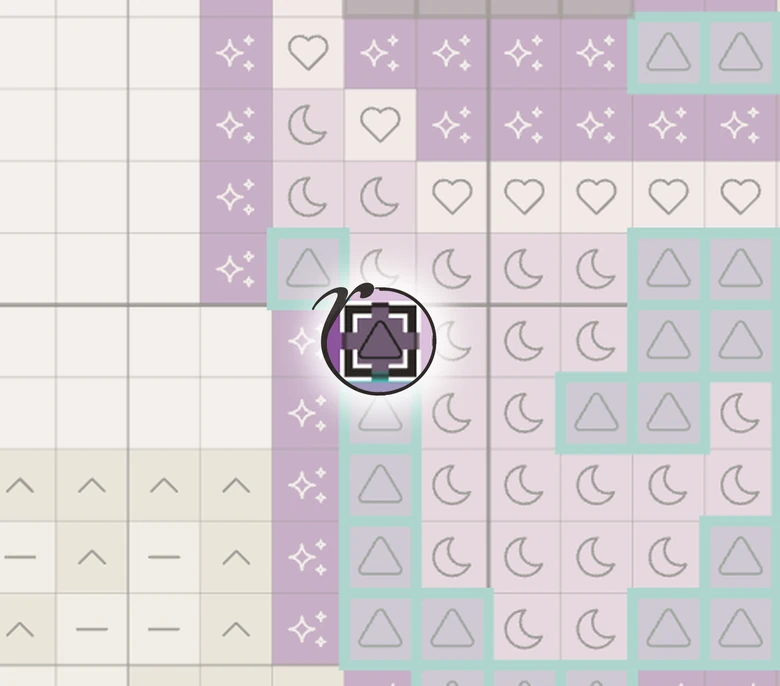
Choose the backstitch or knot thread, for example in Key, and tap next to the line or knot as you would a stitch. Half and quarter stitches are marked the same way.
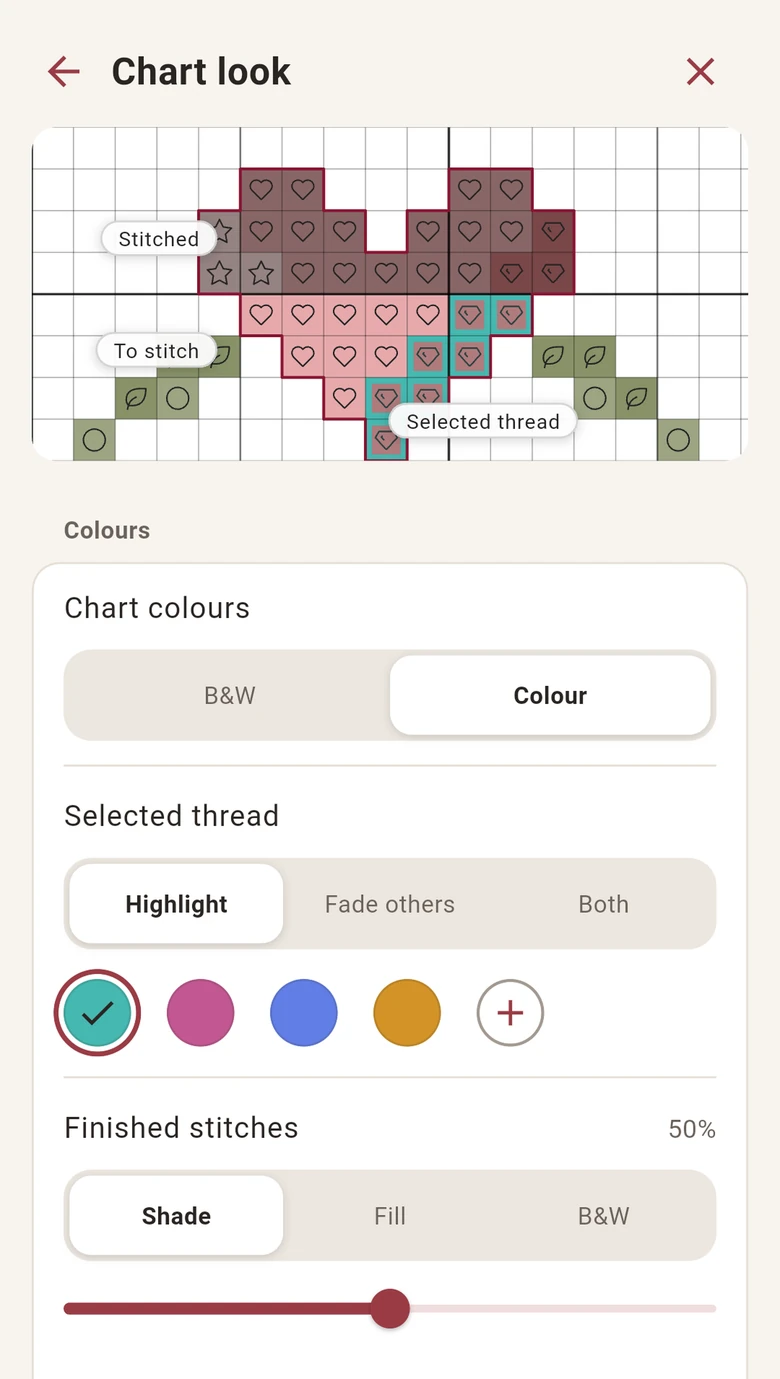
Open Chart Settings, then Chart look. Choose colour or B&W, how the selected thread stands out, and how finished stitches look: Shade, Fill or B&W. The small picture shows each change.
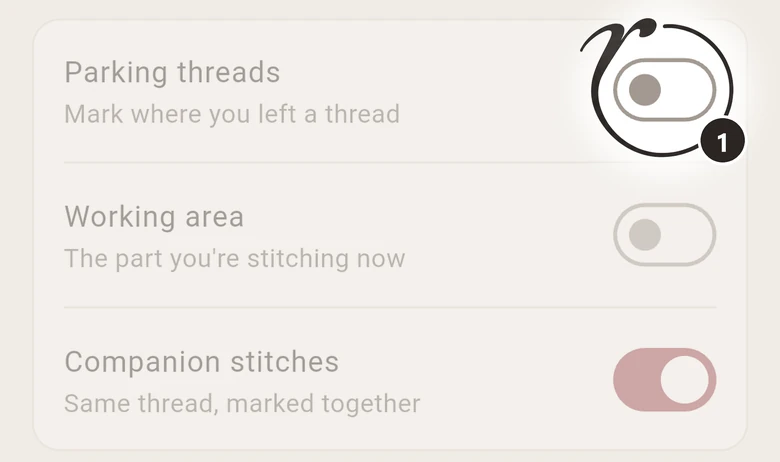
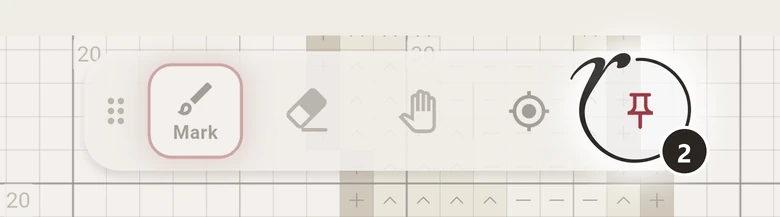
Switch on parking first: Chart Settings, Parking threads. A pin appears in the tool bar: tap it, then the cell where the needle waits, and a tag in the thread's colour stays there.
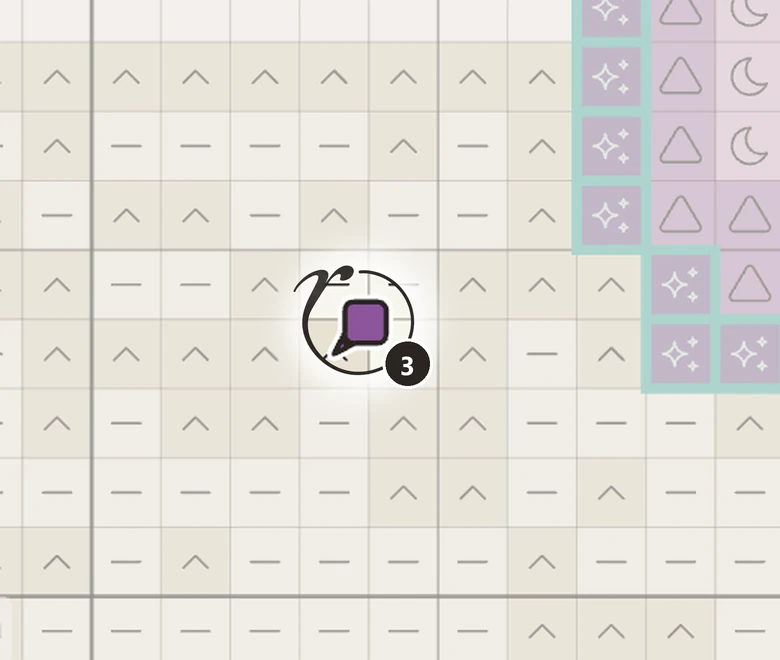
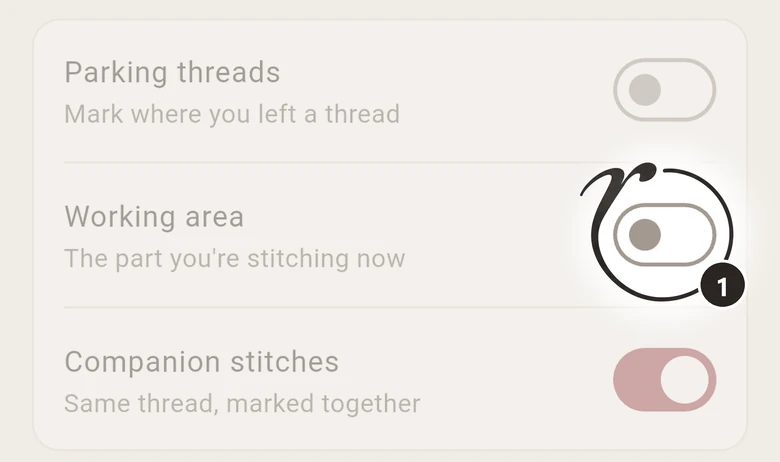
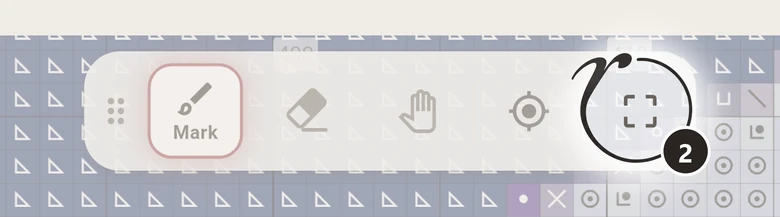
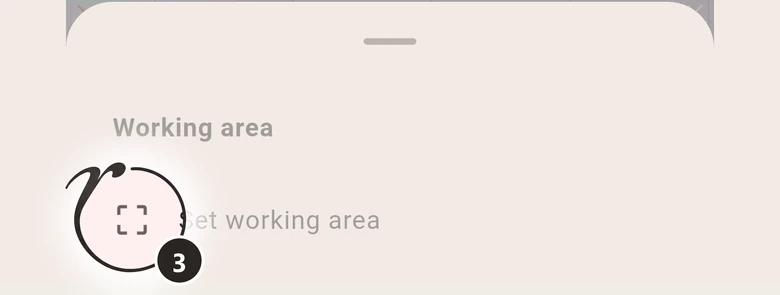
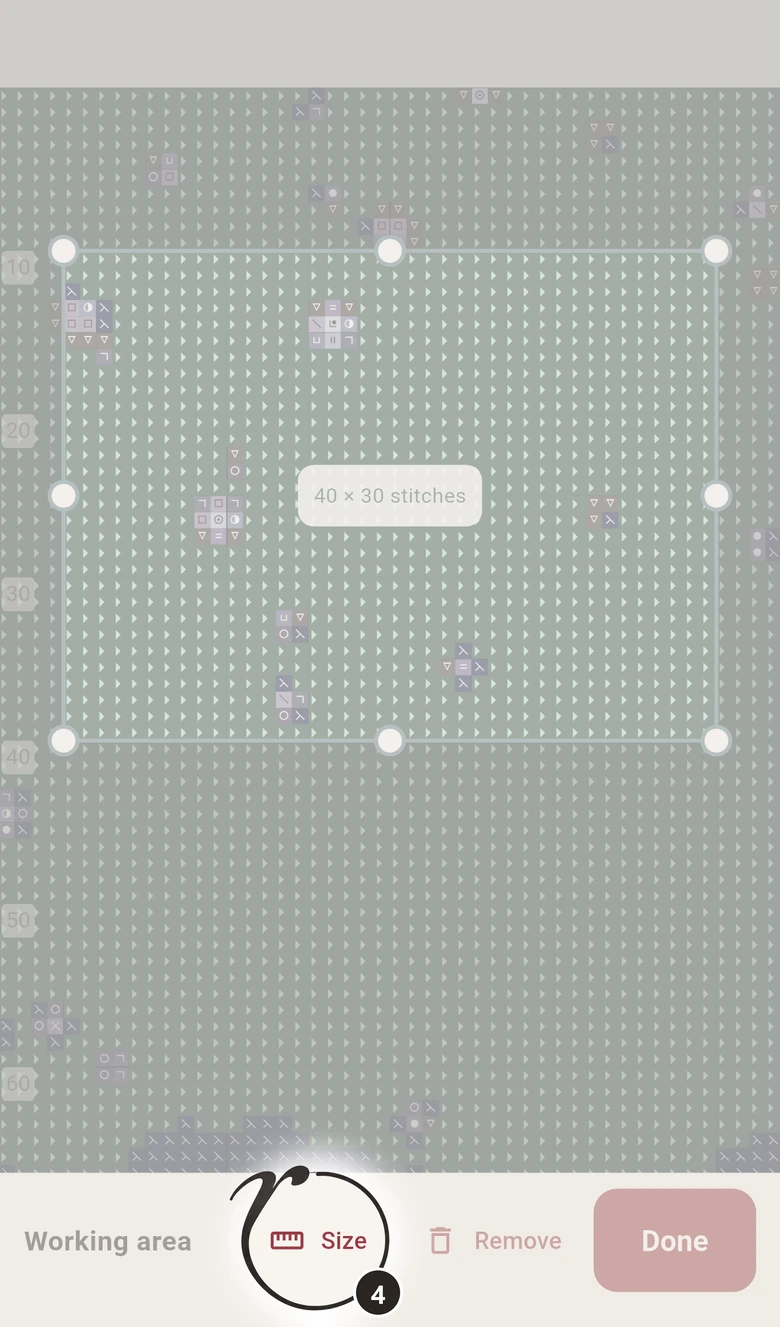
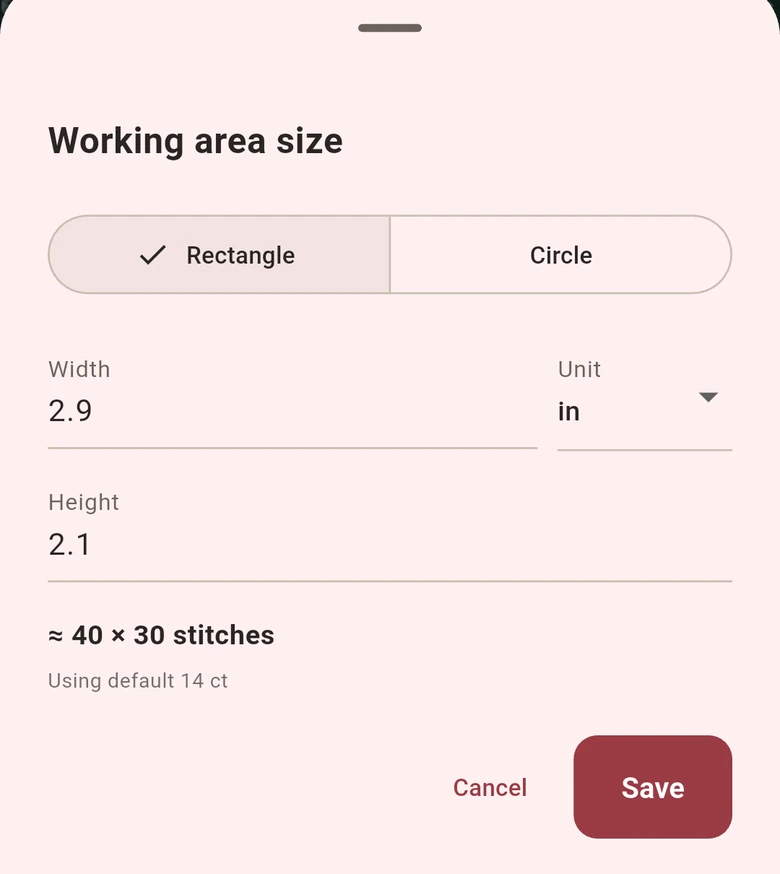
Yes: in Chart Settings switch on Working area, then tap the frame in the tool bar and Set working area. Under Size choose a rectangle or circle in inches or cm, and Ruta works out the stitches.
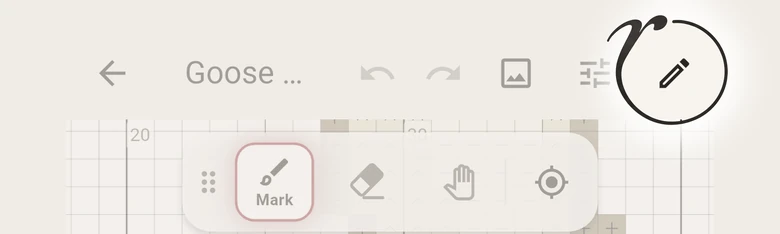
Tap the pencil at the top of a chart to open the Editor. There you can draw and erase stitches, add and change threads, move and copy parts of the chart, make the canvas larger or smaller, and turn or mirror the whole chart. On the samples you can try it free; on your own charts it comes with Ruta Pro.

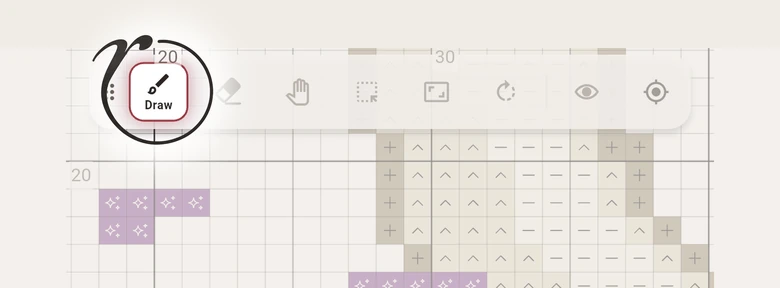
Choose Draw and pick the thread in the bar below. Ruta draws the kind of stitch that thread has in the key: a full or half cross, backstitch, a knot and so on. Tap a square to add a stitch. For backstitch tap two corners, for a knot tap the place on the chart. Erase takes stitches away.
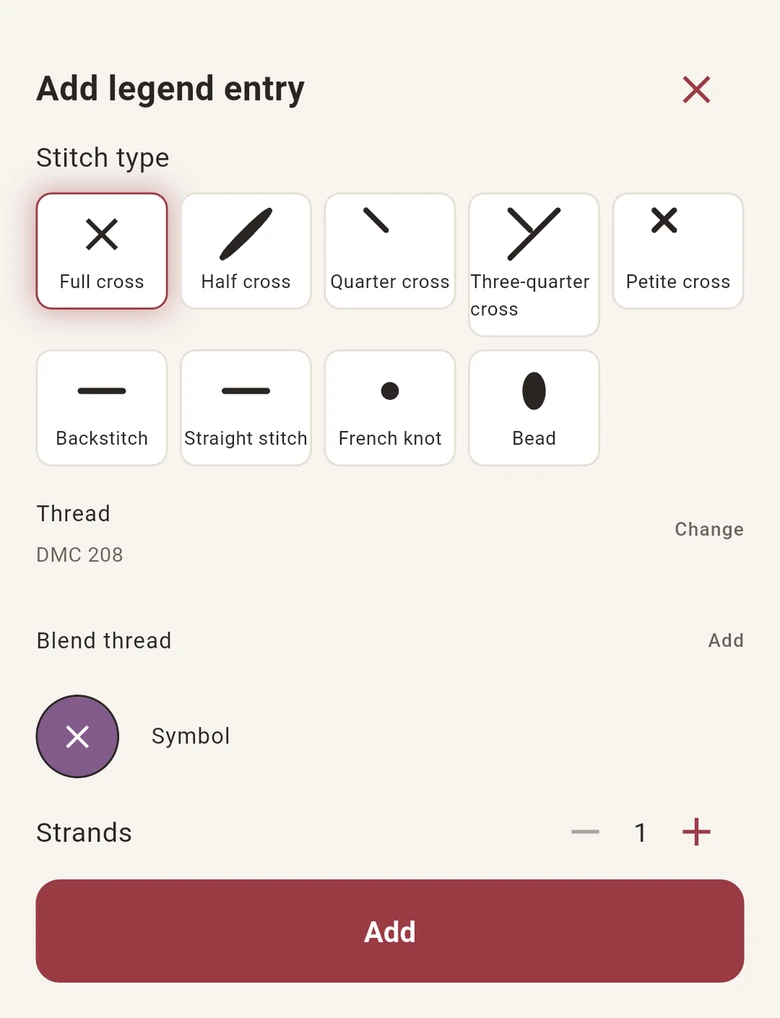
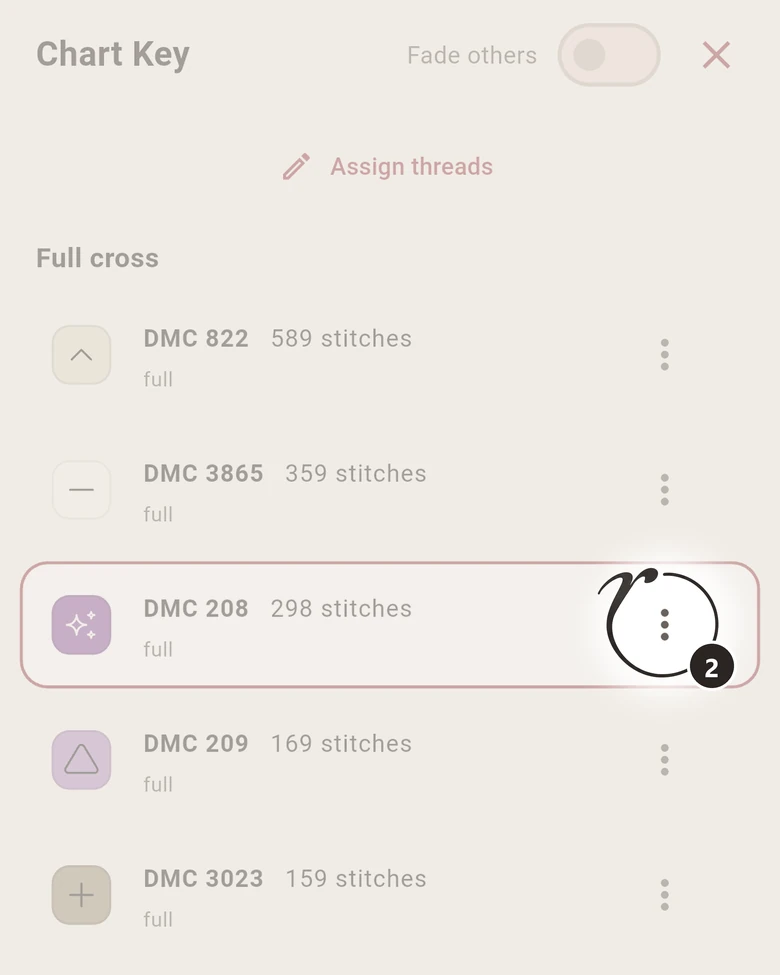
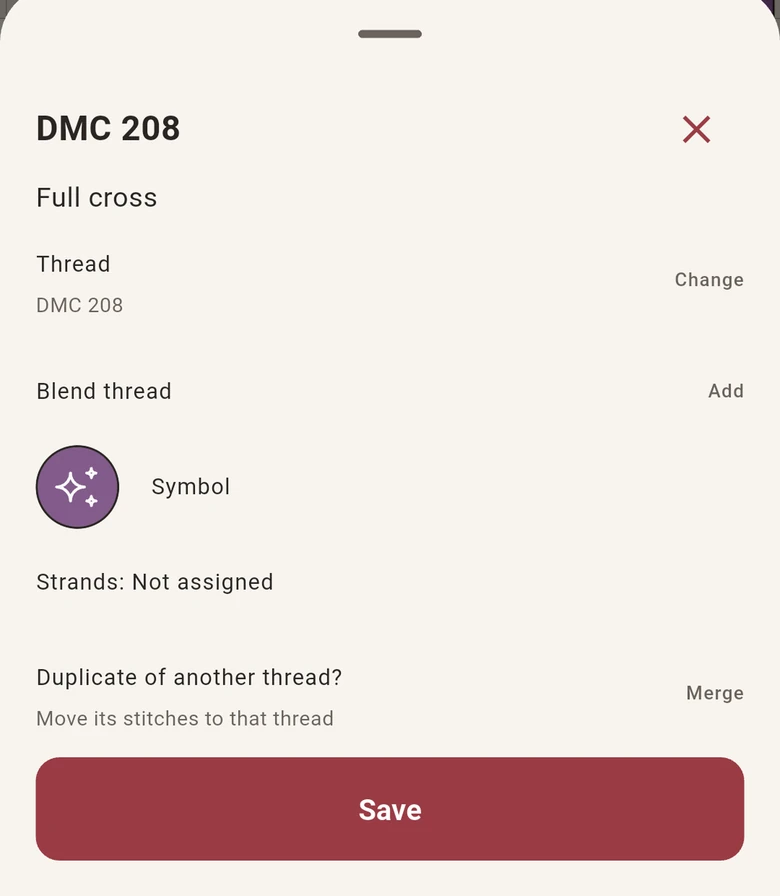
In the editor, the + right beside Key adds a new thread: choose its Stitch type, then the thread, its symbol and strands, and tap Add. To change a thread, open Key and tap ⋮ beside it: you can change the thread or its symbol, add a blend thread, or Merge it into another thread if it is a duplicate. Then tap Save.

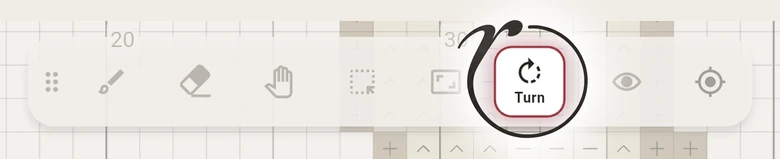
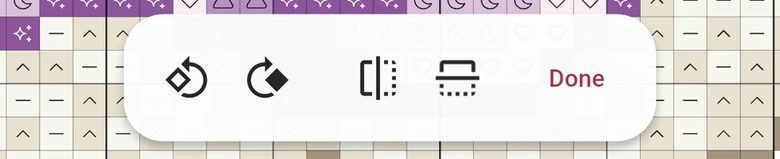
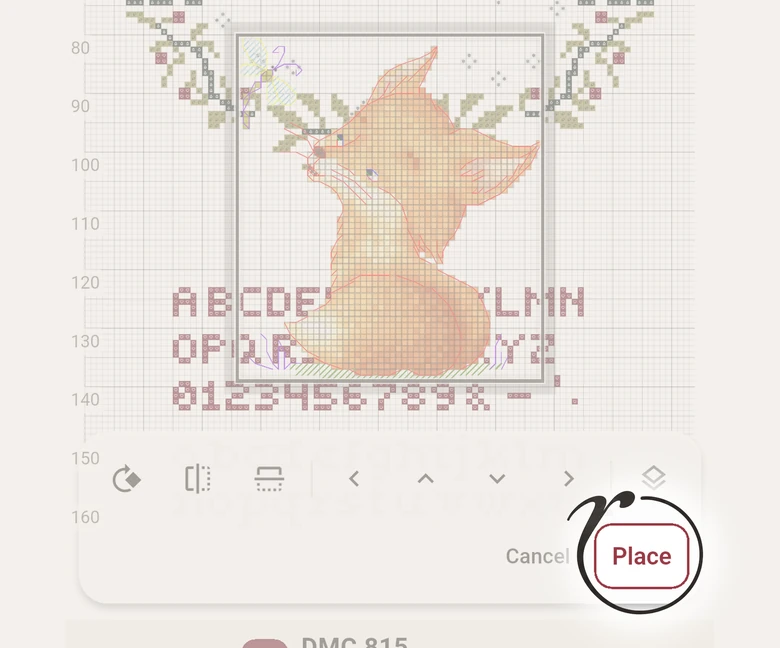
Choose Select and draw a frame round the part, or tap one motif. The bar below offers Copy, Move and Delete. The piece then follows your finger. You can Turn it, mirror it, or nudge it one stitch at a time with the arrows. Place puts it down, Cancel takes it back.
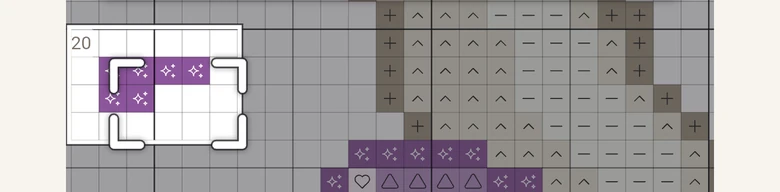
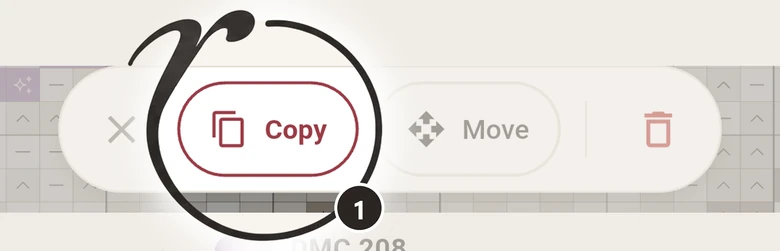
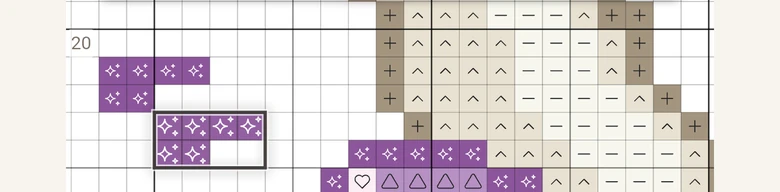
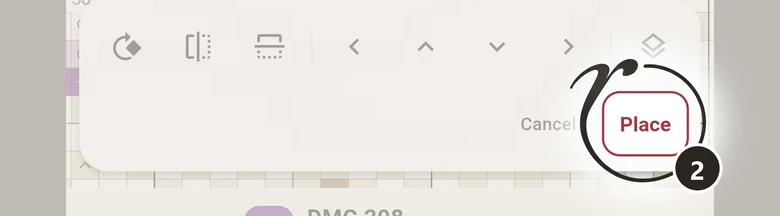
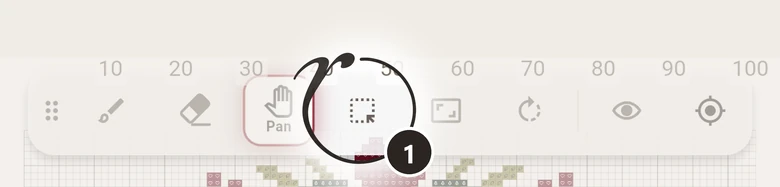
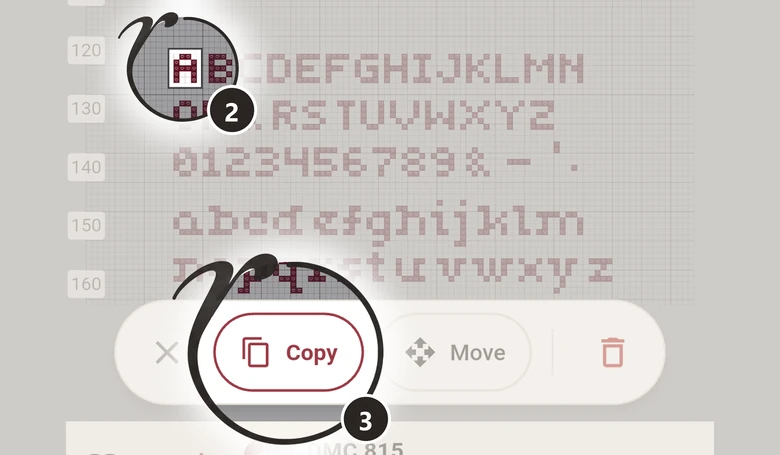
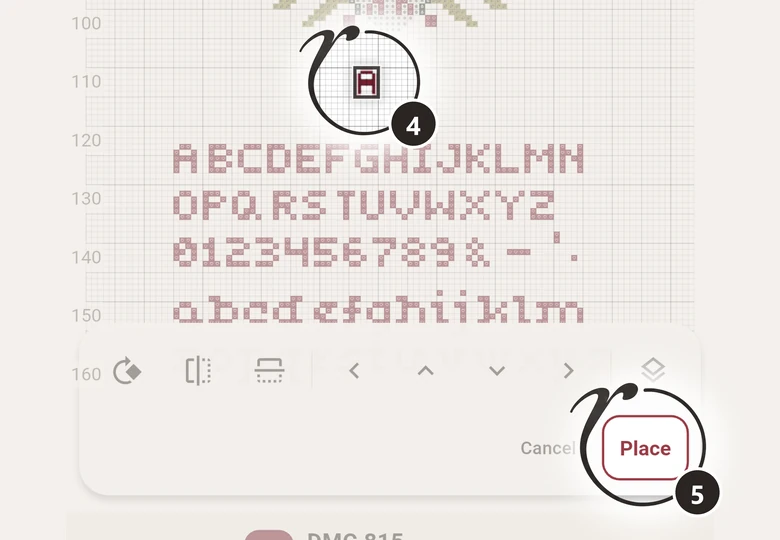
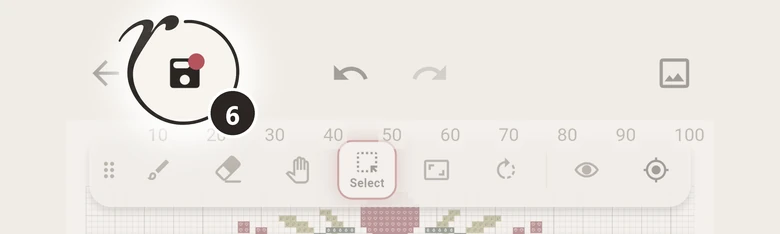
Tap the pencil at the top and choose Select. Tap a letter, then Copy, and drag the copy into place. Tap Place, and when the name is ready, save with the disk at the top.
Choose Canvas. Handles appear on all four sides: drag one out for more room, or in to trim the empty edge. The new size in stitches shows below. A handle stops at the last stitch, so nothing is cut off. Tap Done.
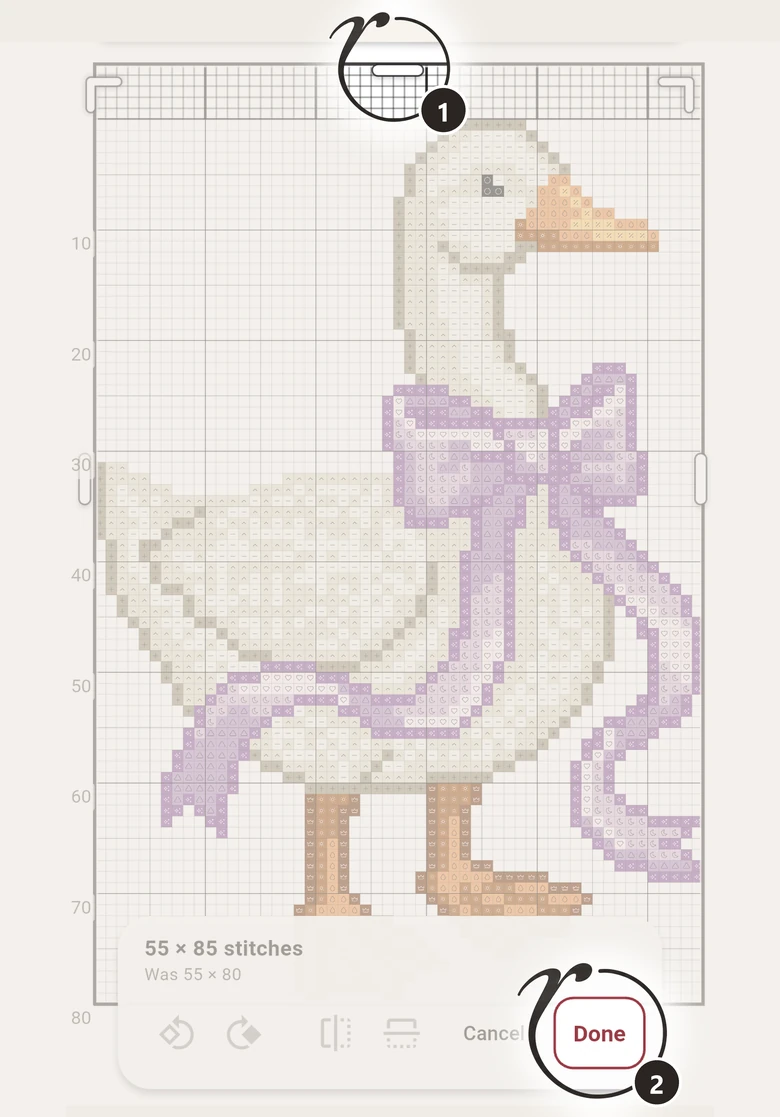
Choose Turn. Turn the chart left or right, or mirror it left to right or top to bottom, then tap Done.
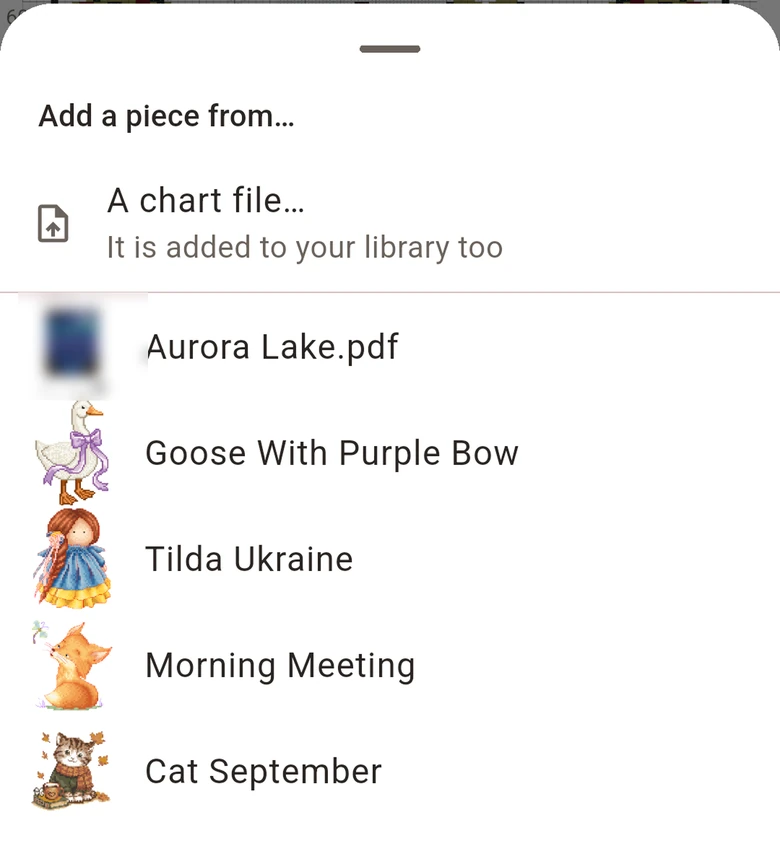
Yes. When a new part of your SAL comes out, keep stitching the same chart: open it, tap the pencil, then the button with a plus at the top, Add a piece from another chart. Choose the new part from your Library, or pick its chart file. It arrives like a copy: move it into place and tap Place. If it is larger than your chart, the canvas grows for it. The same way you can bring a motif from any other chart.

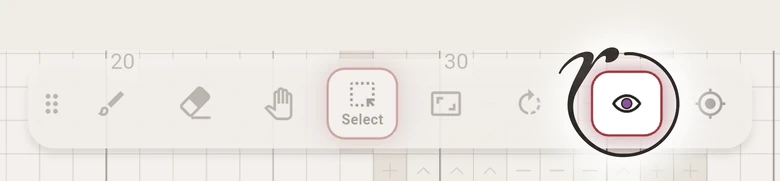
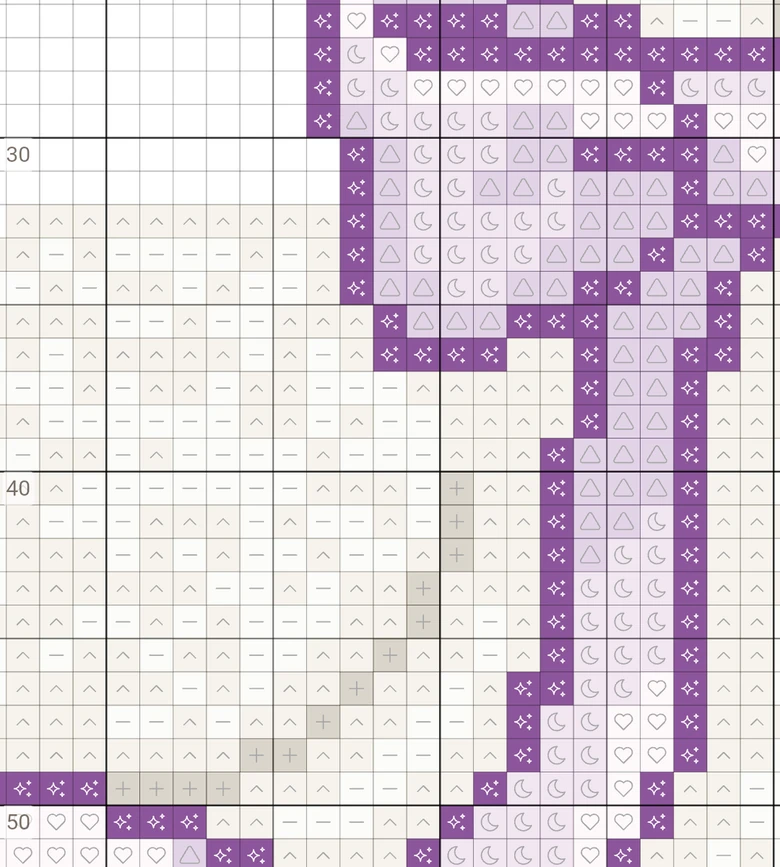
Tap the eye in the tool bar, Fade: every other thread fades, so you see clearly where yours goes. Tap it again to see them all.
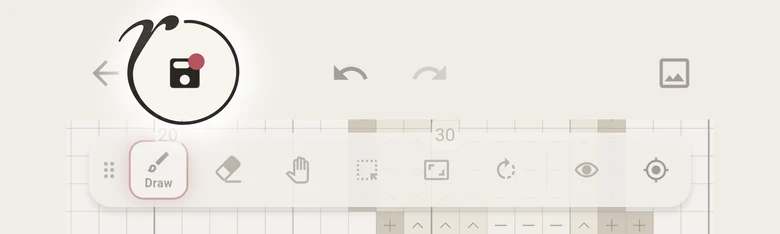
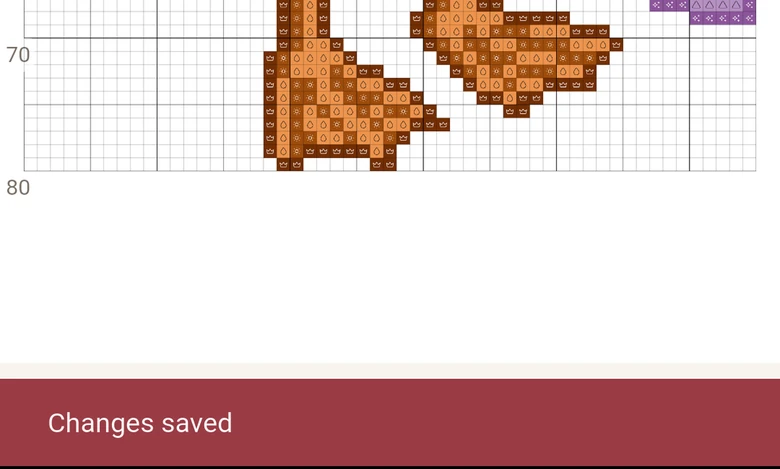
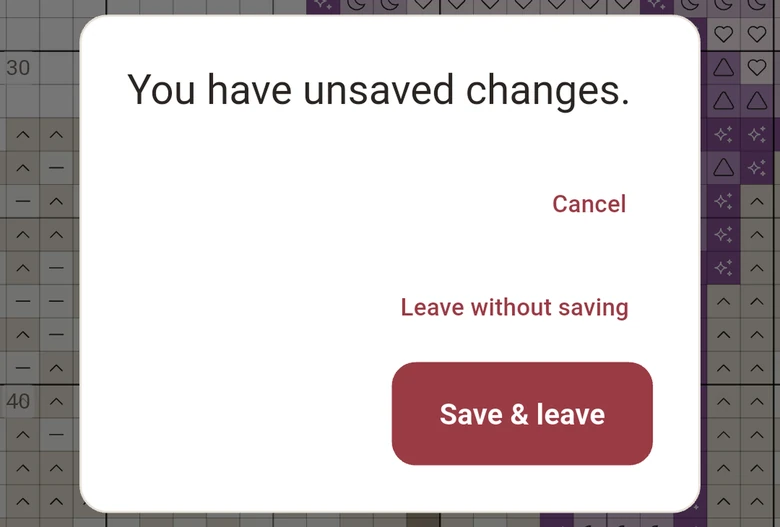
Tap the disk at the top: Changes saved. The curved arrows take steps back and forward. If you leave with unsaved changes, Ruta asks: Save & leave or Leave without saving.
Yes. Stitches you marked stay marked, and when you move a part of the chart, its marks move with it.
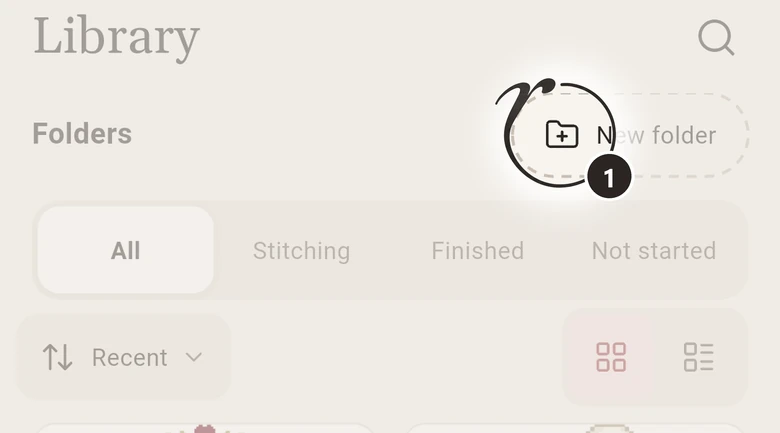
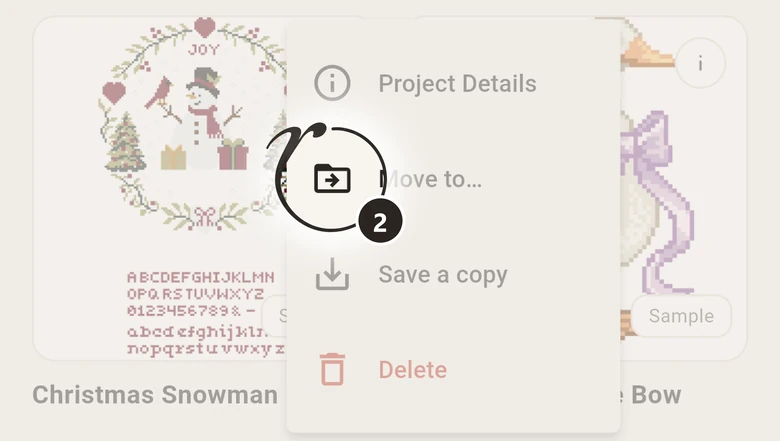
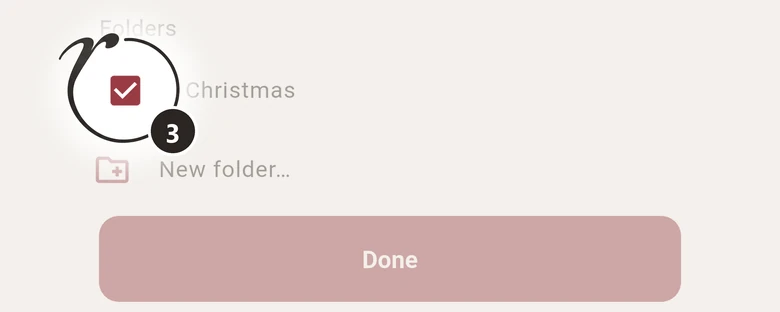
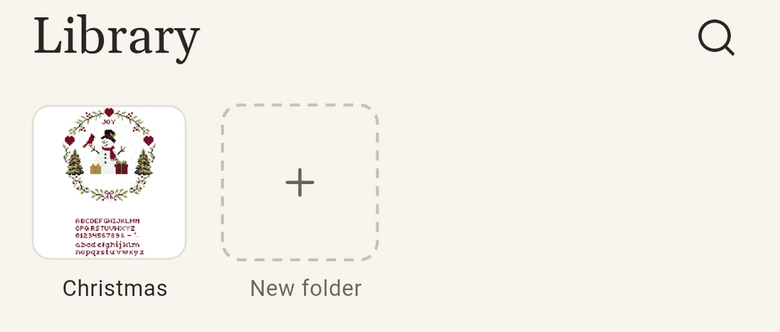
Tap New folder at the top of the Library and name it. Then tap i on a chart's cover, Move to…, and tick the folder. One chart can be in several folders.
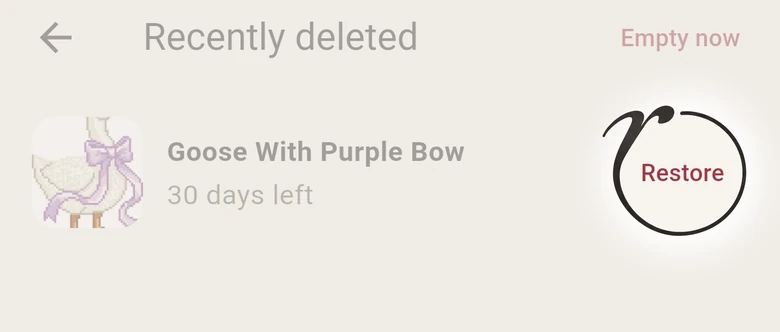
Yes. Deleted charts stay in your profile for 30 days. Open Account, then Recently deleted, and tap Restore next to the chart.
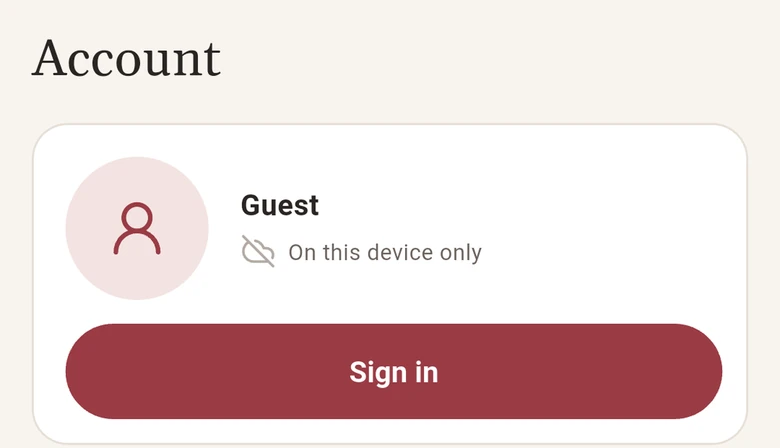
No. Without one you are a Guest and your charts stay on this device only. You can sign in any time later, and everything you have done moves into the account.
With Ruta Pro, sign in on both the same way: Apple, Google or email. Charts and progress follow on their own when both are online. Close the chart on one device before stitching on the other.
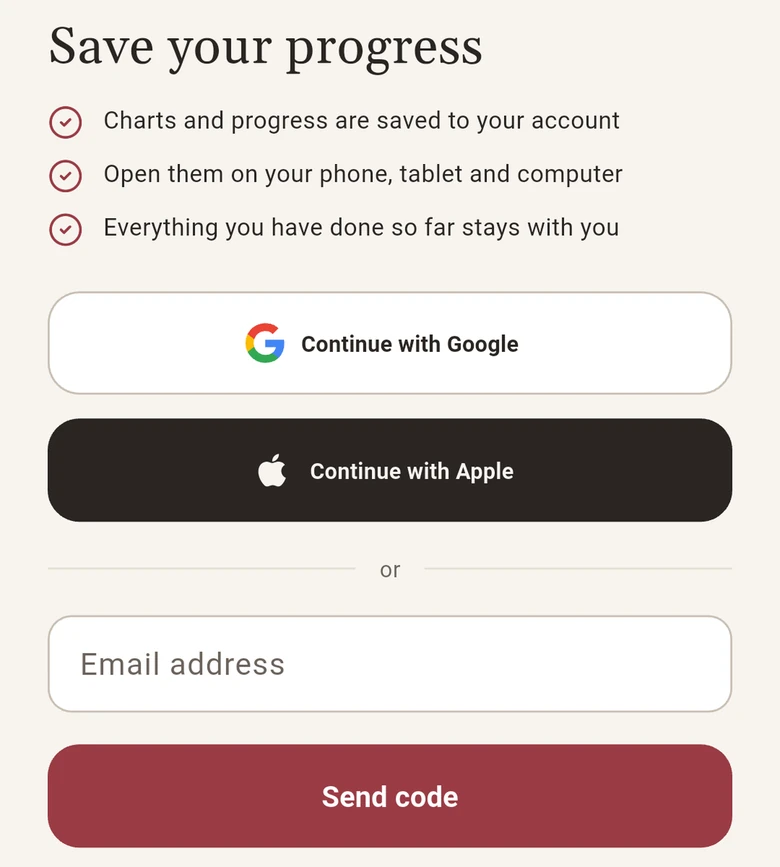
They are safe in your account. Sign in again the way you did before: Apple, Google or the same email. A different way of signing in opens a separate, empty account.
The five designer samples are free in full. You can also import three of your own charts, try a few stitches on each and mark pages freely in Marker mode. Stitching and editing all your charts come with Ruta Pro.
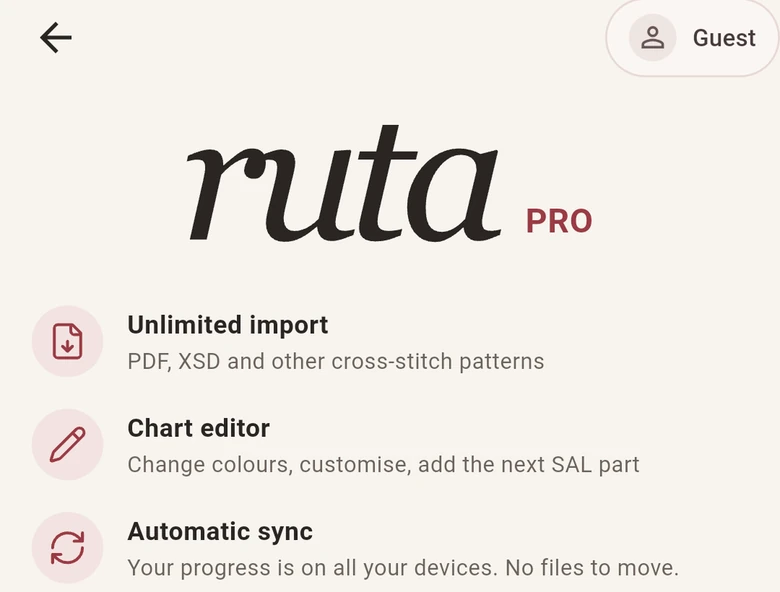
Tap Account, then Manage subscription: the App Store or Google Play opens. On a new phone, sign in and tap Restore purchases on the Ruta Pro page.
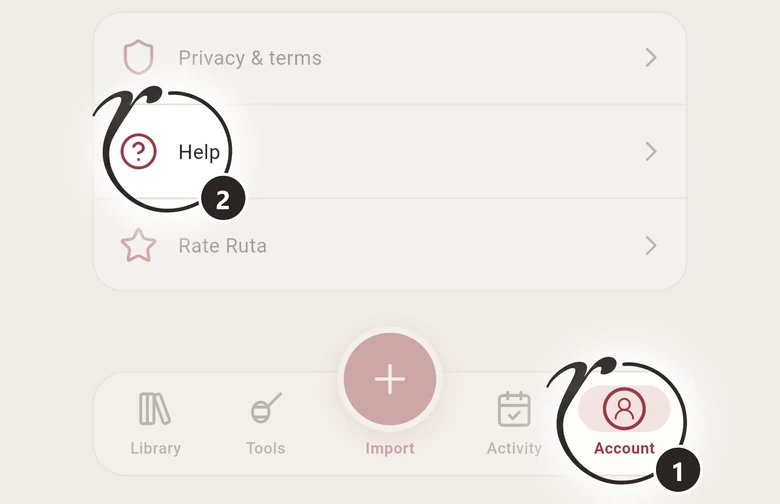
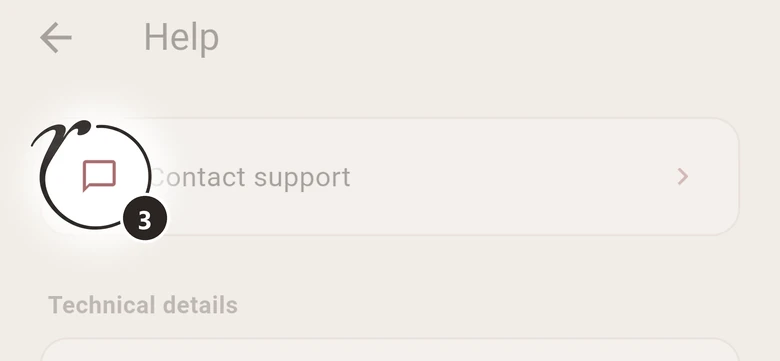
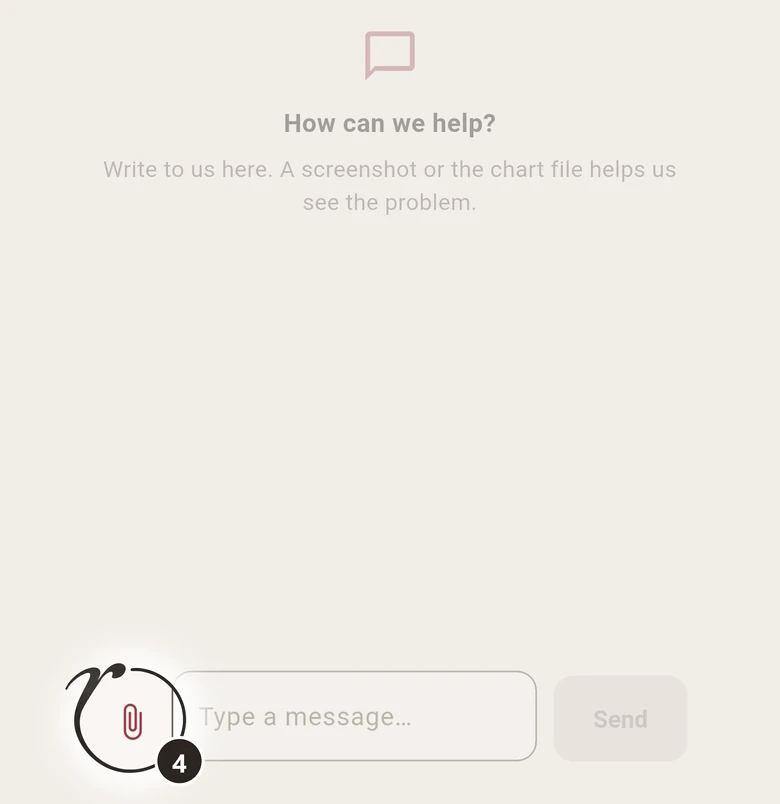
Tap Account, then Help, then Contact support. The paperclip adds a screenshot or your PDF. The reply appears in the same chat.